


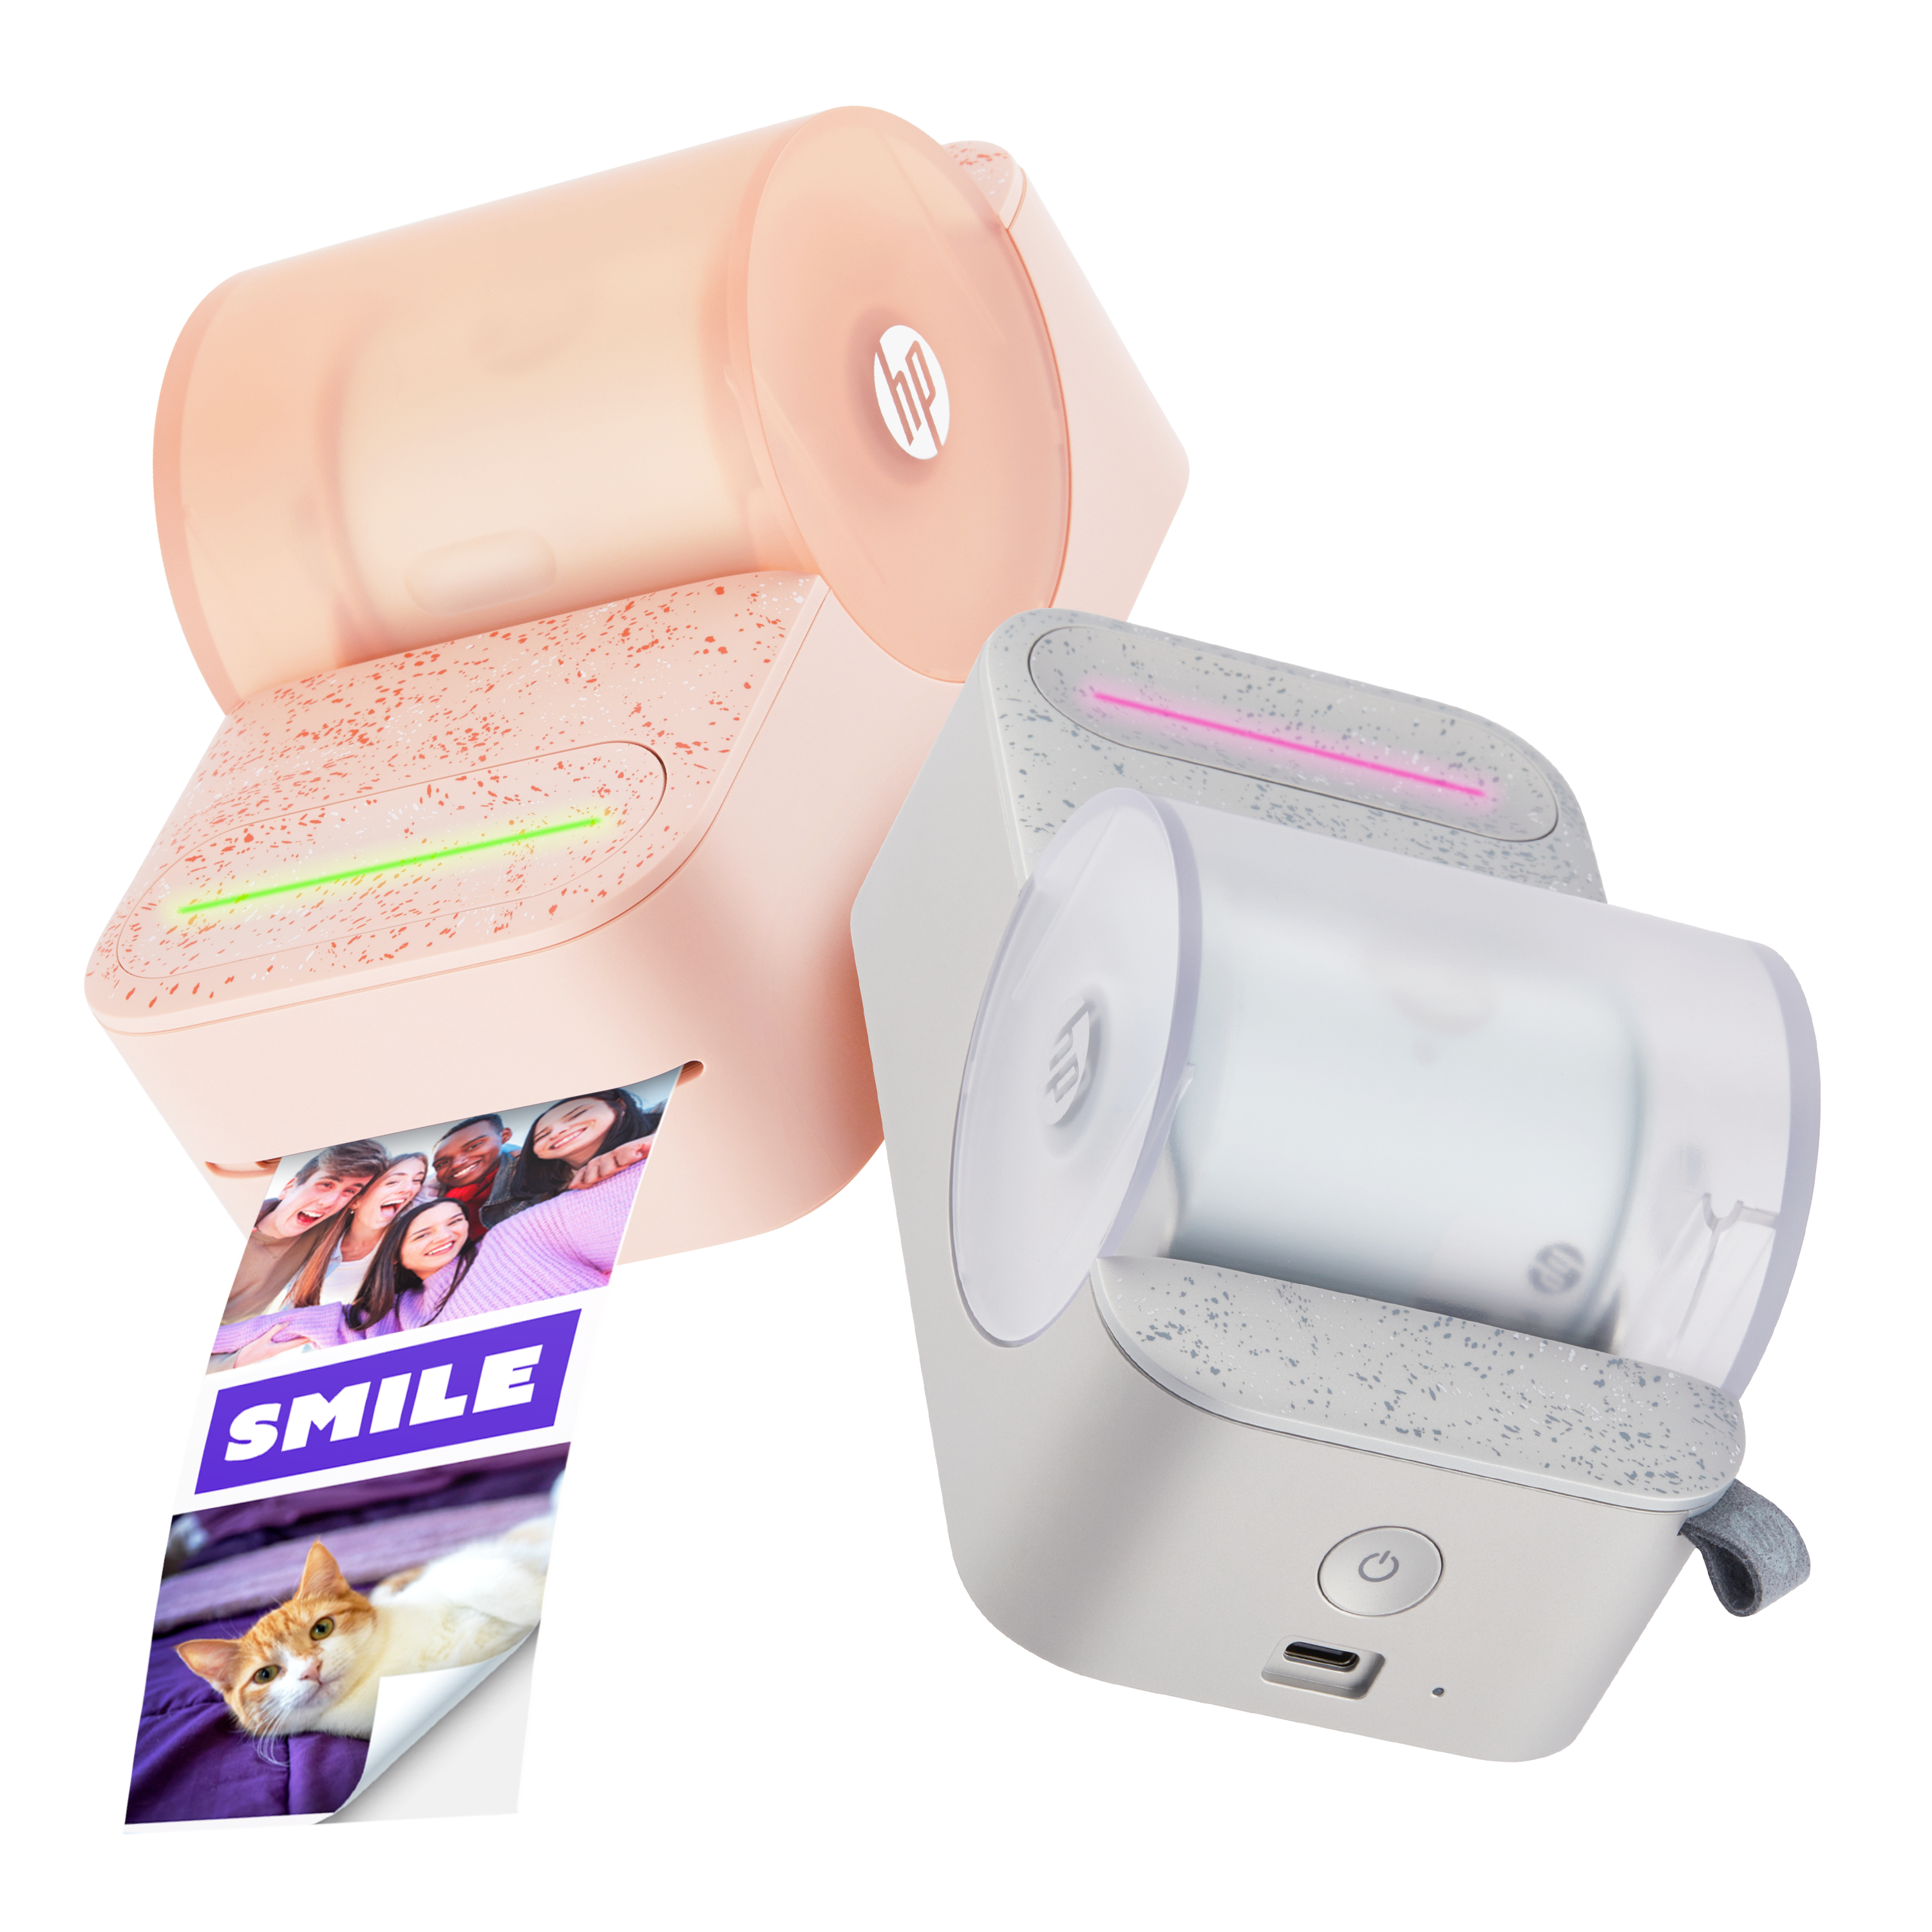




HP Sprocket Photobooth – Improving Print Quality
This document is for the HP Sprocket Photobooth.
The quality of a printed photo is not as expected. Resolve the following print quality problems:
- Dark, light, faded, or blurry areas
- Lines or streaks
- Individual color on the edges of the photos
- Paper jams
- Paper feeding failure
- Cooling down error
Step 1: Check the Photo Paper
- Press down on the grooves of the door and slide the door to open it.

- Remove the papers from the device.
- Check the papers for any quality issues.
- Make sure the paper is compatible with the HP Sprocket Photobooth.
- Wipe the paper carefully with a microfiber cloth if the glossy side is dirty.
- Remove any papers that are wrinkled, bent, or torn.
- Once the paper is checked, place the paper stack into the door pocket.
- Make sure the glossy side of the paper is facing right and the barcode is facing left.
- Insert either 1 full pack (10 sheets + corresponding blue calibration sheet) or 2 full packs (20 sheets + 2 corresponding blue calibration sheets) at a time.

- Close the door pocket.
Note: Only use HP Sprocket 3x4 Zink Photo Paper 20, 50, or 100 pack.
Handling Zink Photo Paper
- Do not bend Zink paper.
- Hold the paper by its edges. Avoid touching the surface with your fingers.
- If Zink photo paper is over-exposed to humidity, it may begin to bend, causing printing issues such as paper jams. To avoid this:
- When not in use, store your Zink paper in a cool, dry place, and avoid exposure to direct sunlight and heat.
- The ideal temperature at which to store your photo paper is between 32 °F – 77 °F (0 °C – 25 °C) and 40% - 60% relative humidity).
Paper Jams
- Wait for the device to clear the paper jam itself. If it doesn’t go away, manually pull out the paper and clean out the feeder.
Paper Feeding Failure
- Remove and reload your Zink photo paper and check the quality. If the paper is very curled, try loading less paper at a time.
Step 2: Run a Calibration Sheet
Run a blue calibration sheet through the printer.
Step 3 : Make Sure the Device is Updated
Updates automatically occur when the device is connected to Wi-Fi.
- Click on the Wi-Fi icon in the upper right corner of the screen or select “Settings” from the home screen and click on “Network.”
- Make sure the bar next to “Enable Wi-Fi” is in the on position.
- To connect to your network, select your network name from the menu.
- Enter your password, if applicable, and hit “connect.”

Step 4: Cool the Photobooth Down
Allow your device a few minutes to cool down between prints.
Step 5: Other Things to Try
- Make sure the lighting is sufficient when taking photos.
- Avoid touching the glossy side of the photo paper.
- Store the paper in a cool, dry place.
- If a Printer Cooling Down message appears after printing many consecutive photos, allow the device to cool down, and printing will automatically resume.


Still need support?
Get personal help from our support team by visiting the Contact Us page.
Contact UsRegister your product.
Secure your product with easy access to help, updates, and documentation.
Product Registration
 Please enter a valid email.