HP Sprocket Studio - Setting Up the Printer
Step 1: Download the HP sprocket app
-
Go to the HP Sprocket (in English) homepage, and then follow the on-screen instructions to download and install the app.
-
On your mobile device, open the Bluetooth settings menu, and then make sure Bluetooth is enabled.
-
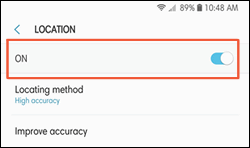
Android devices: On your mobile device, open the Location or Location Services menu, and then make sure the setting is turned on.
note:
You can turn the setting off when you are not using the printer.
Step 2: Unbox the printer and connect the power cord
-
Remove the printer from the box, and then remove any packing material and tape from the printer.
-
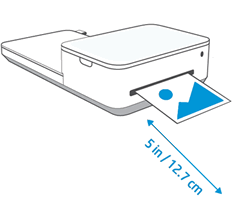
Set the printer on a clean, level surface with at least 12.7 cm (5 in) clearance behind the printer to prevent paper jams and printing issues.
-
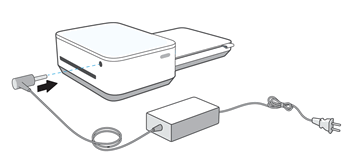
Connect the power cord to your printer, and then plug it into a wall outlet. Make sure the power cord does not block the output slot behind the printer.
-
Press and hold the Power button until the Status Indicator light turns on.
Step 3: Load HP Sprocket Studio photo paper
-
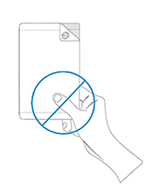
Open a single pack of HP Sprocket Studio photo paper. Avoid touching the glossy side of the paper to prevent print quality issues.
-
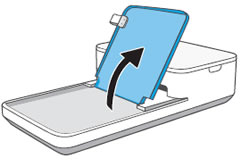
Open the paper tray cover.
-
Hold the photo paper by its sides, and then load it into the paper tray with the HP logos facing down.
note:
Loading more than a single pack of photo paper can cause paper jams and printing issues. -
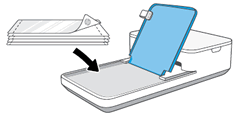
Close the paper tray cover.
Step 4: Install the cartridge
-
Remove the cartridge from its package.
caution:
Do not touch the ribbon on the bottom of the cartridge. Fingerprints on the ribbon can cause print quality issues or damage the cartridge. -
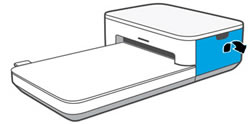
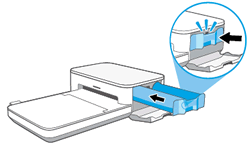
Open the cartridge door.
-
Insert the cartridge into the slot until it clicks into place.
-
Close the cartridge door.
Step 5: Pair the printer and mobile device
-
Open the HP sprocket app.
-
If a Welcome screen displays, tap the setup option, and then follow the on-screen instructions.
-
Tap the Menu icon , tap sprocket, and then tap Manage Printers.
-
If your printer displays in the list, the printer connected successfully.
-
If your printer does not display in the list, tap Add New Printer, and then tap your printer name.
You can now send print jobs to your printer. -
Step 6: Charge the HP Sprocket Studio Power Bank (optional)
-
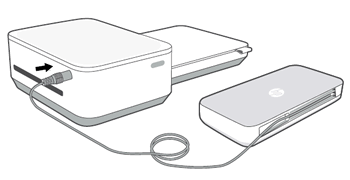
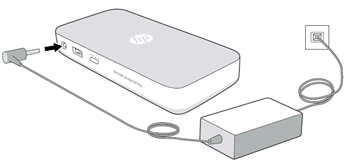
Connect the power cord that came with your printer to the power bank.
-
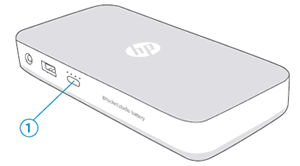
Charge the power bank until all four Charge Status lights are white, and then disconnect the power cord.
-
Charge Status button and lights
-
-
Unwrap the power bank cord, and then connect it to the printer.
note:
When you are not printing, disconnect the power cord to help extend battery life.