
 Diagnostic
There are 0 items in your cart
View all items >Sub-totalbefore tax & fees
$0.00

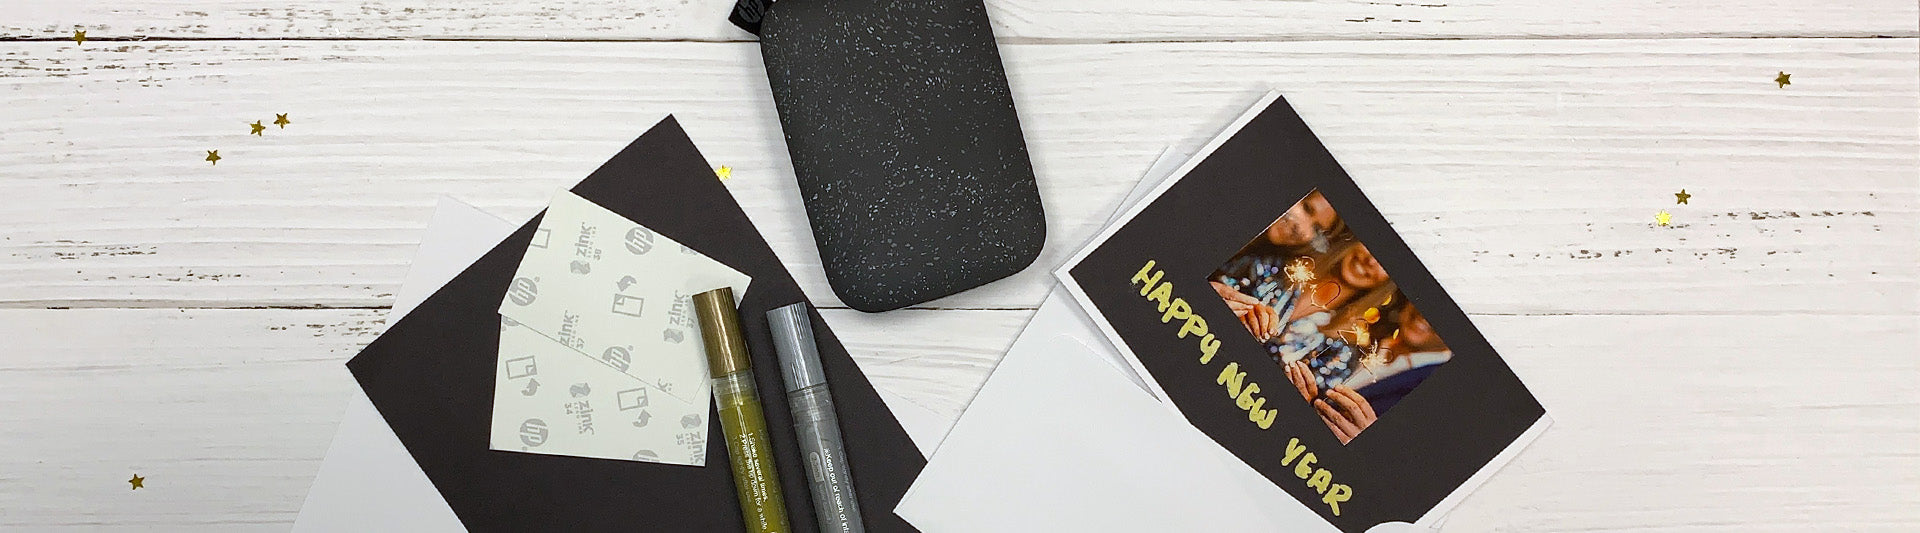
What You’ll Need:
Once you’ve gathered all your materials, choose about 8 photos from your smartphone’s camera roll, and add them to the queue in the HP Sprocket App. Here you can edit, add filters, put in a framing border, crop, or add seasonal accents (stars, coloring, glitter, champagne, and more) to the photos you wish to feature in this project. Now you’re ready to create.

STEP 1:
Go through the photos you wish to use for this project, again, you should choose about 8 of them. Load them into the free HP Sprocket App and decorate them appropriately. There you can edit, crop, or add holiday themed accessories to your photos. You may want to choose photos involving “2022”, or any of the amazing templates for the holiday.

STEP 2:
Once chosen, edited, and designed, print your pictures with the HP Sprocket Printer on the HP Zink Zero Ink Paper with sticky backs. Print as many as you need and be sure to give yourself some options and print out some different photos. You may want to print a second copy of each picture, just as a back-up, in case a mishap occurs.

STEP 3:
With the craft paper and decide which color will be in the foreground and the background (black paper on white looks great but use your imagination and let your creative instinct run wild). Take the piece of craft paper you intend to use as the top piece of paper and measure a cut line of 5” x 7”. Use the pencil to mark the paper (you can always erase any line left by the pencil). Remember to measure twice and cut once. Once your top piece of paper is cut to 5” x 7” dimensions, take the paper you intend to use for the background paper, and measure a cut line of 8” x 9”, again, marking it with the pencil, once measured properly, cut accordingly.

STEP 4:
Take the tape or the glue and put a bit on the back of the paper you intend to use for the top paper, in each of its four corners. If you choose to use tape, be sure to use double-sided tape, or simply loop the tape on itself so both sides are adhesive. If you use glue, make sure to use only a little bit so the glue doesn’t bleed beyond the borders of the paper.

STEP 5:
Carefully align the top paper, adhesive side down, centered on the larger, background paper. Once aligned, make sure the top paper is as flat as possible on the back paper, eliminate as much space between the two as possible. Allow it to completely dry before moving on to STEP 6. If the paper becomes a little too wet or destroyed, repeat STEP 3-4.

STEP 6:
Once the adhesive is completely dry, creating one connected piece of paper, it’s time to fold it in half. To fold in half, take the ruler and measure halfway, longways, on the paper. You should measure 4.5” to get right in the middle. To get a clean fold, place your ruler vertically on the 4.5” measure mark, and fold to make two equal halves. Folding a piece of paper, especially two pieces stuck together, can be tricky. If an error occurs, don’t worry about it, just repeat STEPS 3-6.

STEP 7:
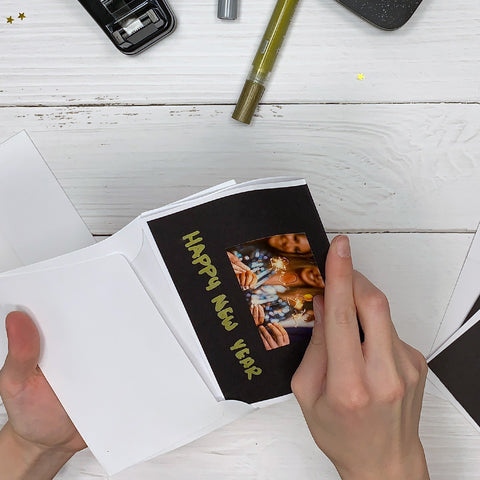
Once the paper is folded into a proper, handmade greeting card, take your photos you’ve just printed using your HP Sprocket Photo Printer and peel back the sticky back paper tab on the back of the photo.

STEP 8:
Place the photo on the front of the card (anywhere you wish). Once in place, make the photo flat enough so sticky back of the photo attaches and holds the photo in place on the paper. Make each card different. Fill it with photos of you with that person, celebratory photos of “2022”, your pet, or whatever you’d like. Repeat STEP 7-8 for as many photos as you wish to place in your card. If the photo or back is damaged in this process, simply use an extra photo you’ve printed and continue.

STEP 9:
On the front of the card, under the picture you have just placed, take the marker, and write “Happy New Year!” in whichever color you wish. Remember: use a marker with a color that will stand out on the paper you’ve chosen (if you chose black paper, gold or silver marker works beautifully). Repeat this STEP for all the cards you wish to make.

STEP 10:
Flip open the card and write a personal message to someone. It’s always fun to include an inside joke, a fond memory, or just the happiness you feel when that person is around. Be creative. Be sure to write a rough draft of your message on a separate piece of scrap paper before writing it on the card. It’s perfectly normal to misspell something or mess up. Use the scrap paper as a rehearsal and perfect what you wish to say. Once decided on the content, remember to write clear, neat message and try not to smudge. Even add extra pictures inside if you wish. Depending on the ink you use, you may want to let the card completely dry before moving forward.
STEP 11:
Take your newly made card and place it in the envelope. If you are not sending the card through mail and delivering it in person, feel free to decorate the envelope as well (it’s better to do this before the card is inside the envelope). Add more photos, fun writing, or creative designs. Make it unique.

STEP 12:
Tada! Your card is done! All that’s left to do is give it to the person you made it for. Whether it be through the mail or in person, this card you made yourself is sure to start 2022 off on the right foot! Now get ready to celebrate New Year’s Eve! Give it out to friends, kids, loved ones, and anyone you want to wish a happy 2022!
HP Sprocket
© Copyright 2026 C&A Marketing, Inc. is the manufacturer of the HP® Sprocket®, under license from HP, Inc. HP and Sprocket trademarks are owned by HP Inc. or its affiliates. ZINK® Technology and ZINK® Trademarks are owned by ZINK Holdings LLC., used under license.


